Hướng dẫn Crack Surveillance Station trên DSM 7
Bước 1: Cài đặt App Surveillance Station
Tải bộ cài Surveillance Station 9.1.2-10854 về máy tính: https://ducit.synology.me:5001/sharing/SZKXKZGp8
Vào Package Center ► Manual Install
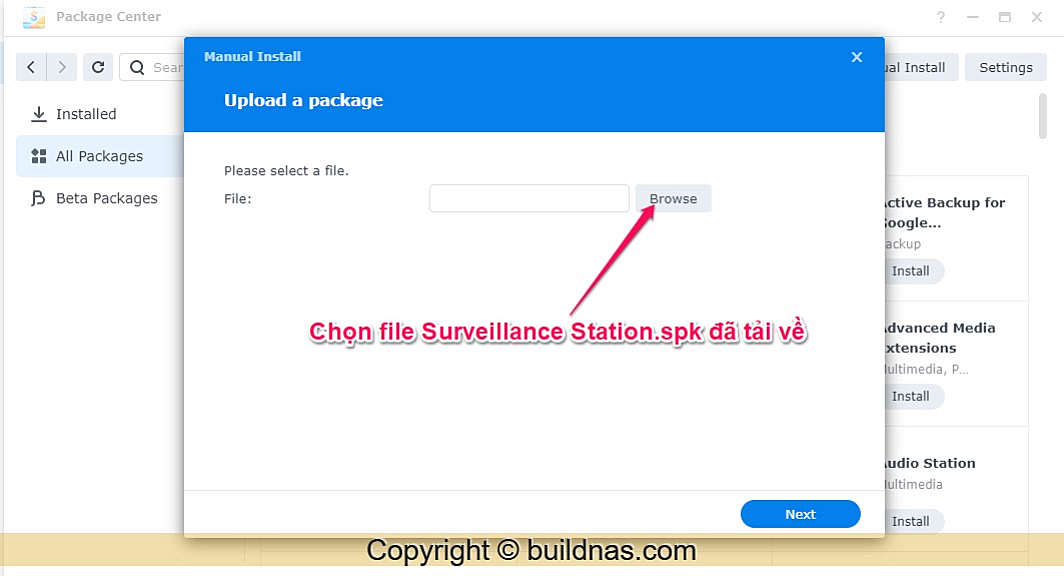
Tiếp tục Next tới khi cài đặt hoàn tất
Bước 2:
Cách 1:
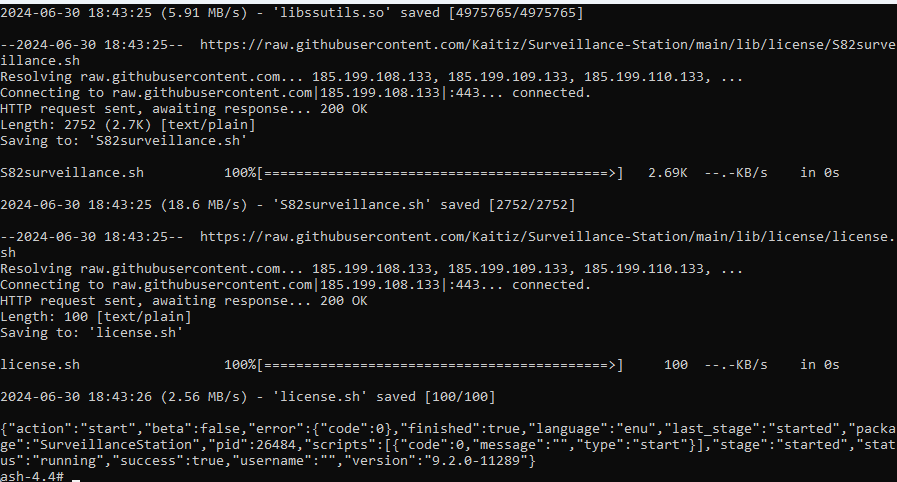
Truy cập SSH vào NAS với quyền root:
Paste dòng lệnh sau vào:
bash <(curl -L https://raw.githubusercontent.com/Kaitiz/Surveillance-Station/main/lib/SurveillanceStation-x86_64/install_license)
Cách 2:
Vào Control Panel ► Task Schedule
Create -> Scheduled Task -> User-defined script
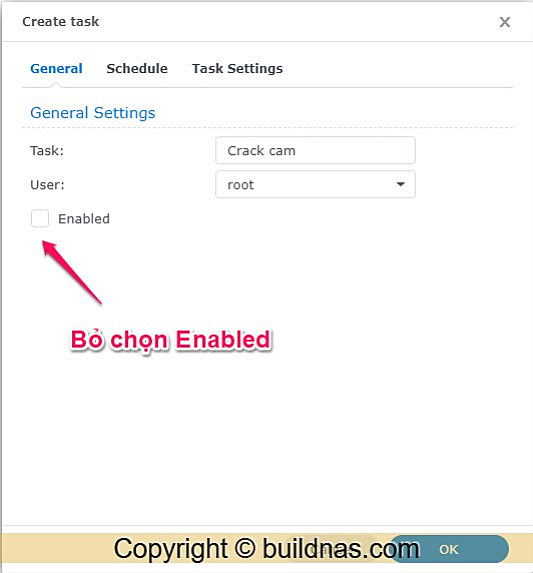
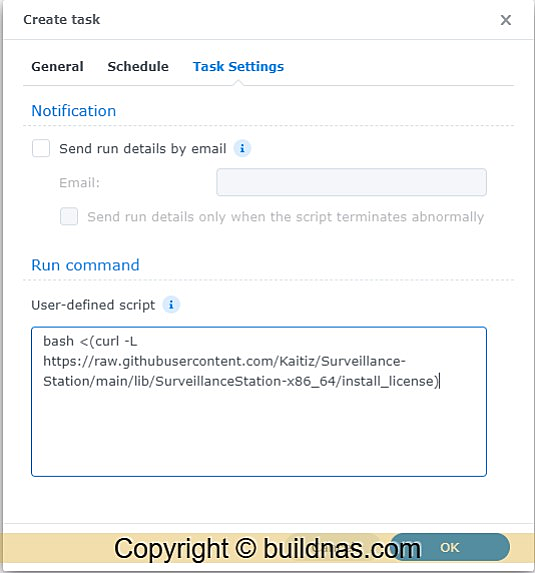
Task Settings: User-defined script =
bash <(curl -L https://raw.githubusercontent.com/Kaitiz/Surveillance-Station/main/lib/SurveillanceStation-x86_64/install_license)
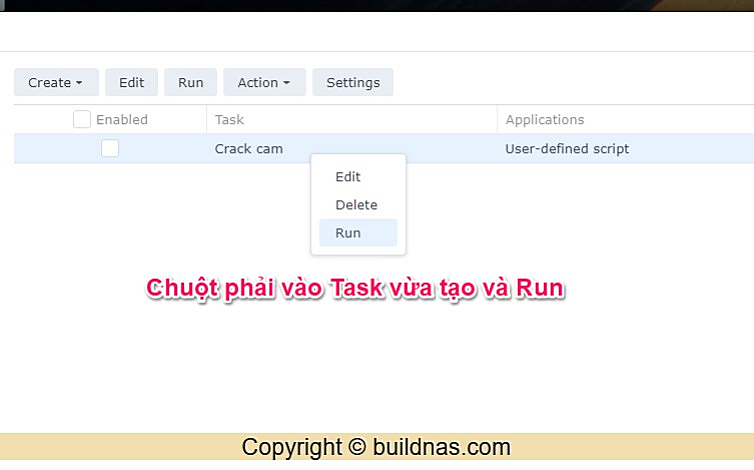
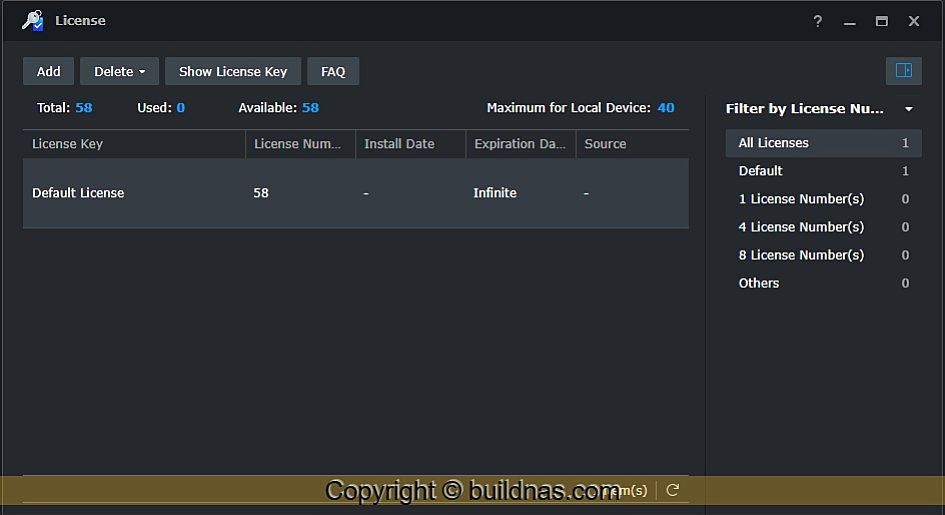
Mở App Surveillance Station để kiểm tra.
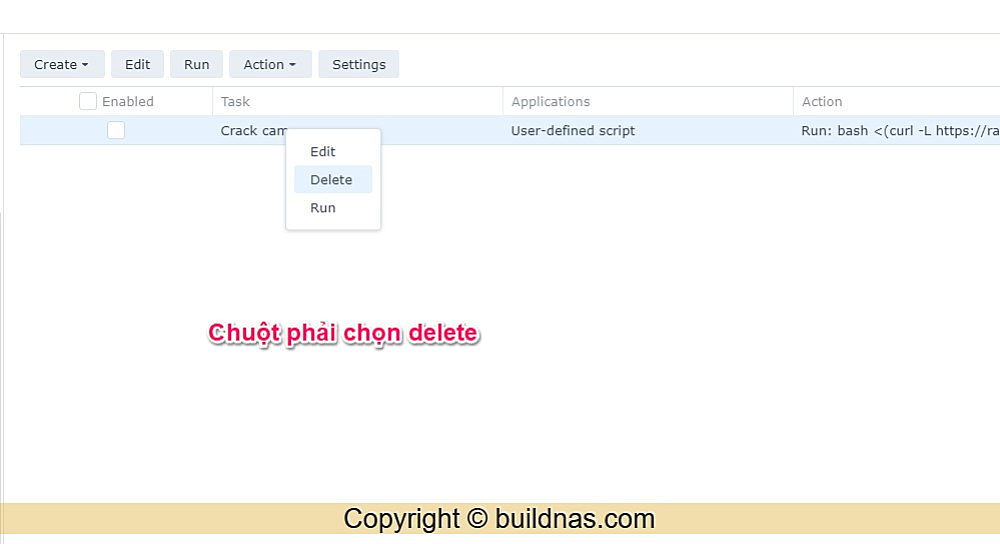
Sau khi Crack thành công thì xoá Task đã tạo